
MRGLAS guide
How to install an MRGLAS screen protector without a single bubble
Most failed installs come from three things: dust, a crooked first edge, and trapped air. Our kits are built to take each one off your hands. Here's the order we use in our own workshop.
Work in the cleanest air you have
A bathroom after a hot shower is the classic trick — the steam pulls dust out of the air. Wash your hands; skin oil on the adhesive side is invisible until it isn't.
Wipe, then dust-strip
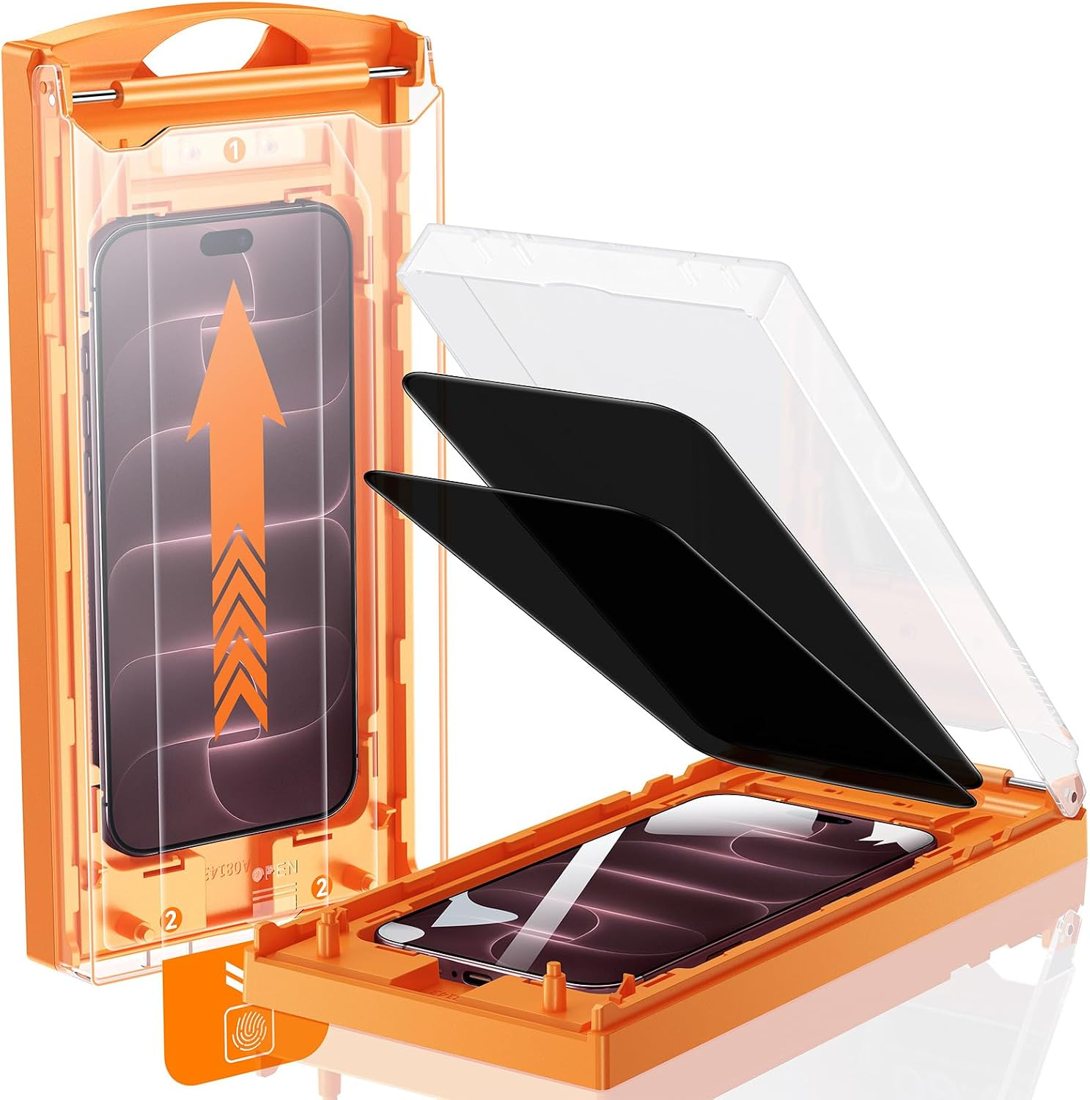
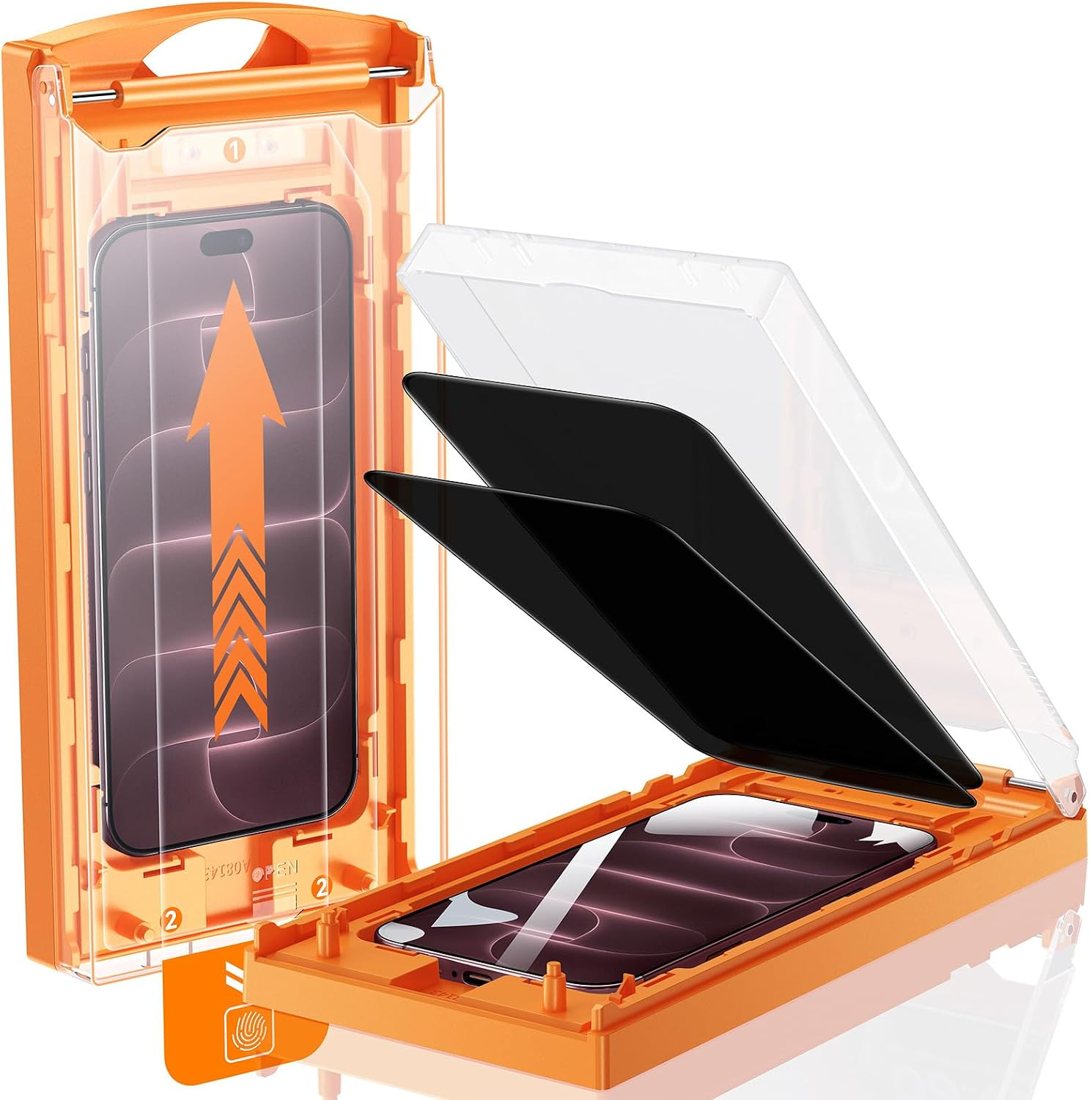
Use the wet wipe, then the dry cloth, then the dust sticker. With our cabin kits, the dust strip inside the lid does the last pass for you when you pull the tab.
Let the frame find the edge
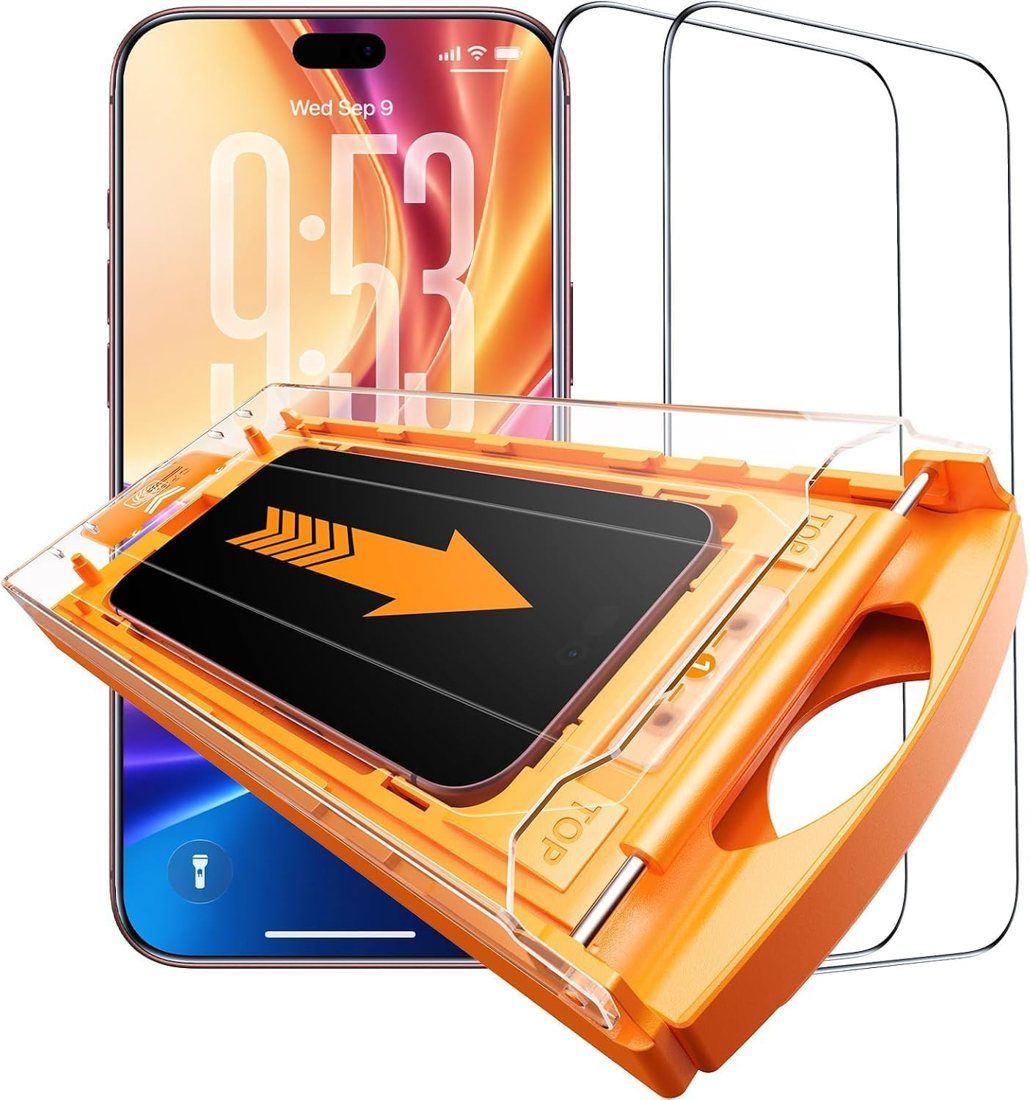
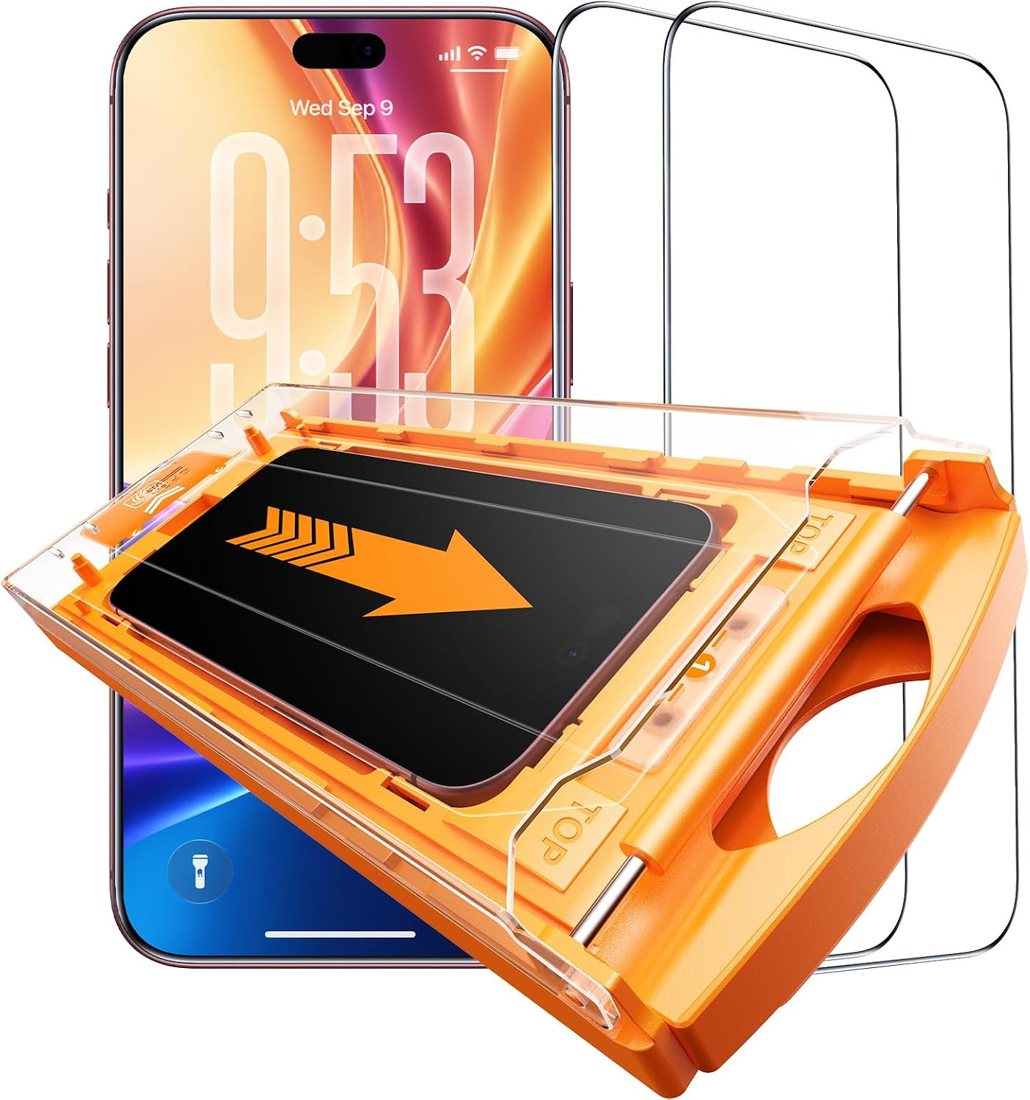
Cabin kits: drop the phone in, close the lid — the glass is already aligned. Slide-in kits (iPhone 16 and 15): lay the short edge first, then let the long edge follow your finger, never ahead of it.
Push the air out sideways
Pull the roller from one end to the other in a single stroke. On slide-in kits, press from the middle outward with the cloth. Small specks usually disappear within 24 hours.
Leave it alone for an hour
The adhesive keeps settling. Put the case on after about an hour, not immediately.
Quick answers
Lift the nearest corner with the dust sticker's edge, touch the speck with a fresh sticker, and lower the glass back down. If the adhesive picks up a fibre, use the spare pane — that's why every box has one.
Our cuts leave a case-friendly margin. If a very tight bumper presses the rim, try a case with a slightly raised lip.